Showing posts with label How To. Show all posts
Showing posts with label How To. Show all posts
Tuesday, January 15, 2013
Wednesday, December 19, 2012
Reindeer Paws
I've decided to actually try some of the things I've pinned on Pinterest. I made a board called "Pinned it; Done it" where I've posted my results.
Most recently (as in last weekend) I tried this popular pin from House On Hilltop...(Blog has been deleted)
Although not as pretty, I was pleased with the result and they were very tasty. I couldn't find pretzel rounds so I used knots and borrowed someone else's name for them: Reindeer Paws.

Thursday, May 24, 2012
Short-Tail Long-Tail Cast On Instructions
The long tail cast on is one of my favorites. It's quick, easy and works for most projects. However, I always have a too much yarn left or worse, not enough. Usually that's not a problem unless I'm casting on over 200 stitches and run out of tail at around 180. Sort of like what happened when I first cast on the Miami Beach Shawl. So I set out to find and alternative and here it is.
Awhile ago, I downloaded instructions linked to pattern on Ravelry by Betty Balcomb on how to do a Short-Tail Long-Tail Cast On. The directions have since disappeared from Rav so here's a quick recap of how to do it.
By the way, here are some links to great sites to learn how to do the traditional Long Tail Cast On.


Awhile ago, I downloaded instructions linked to pattern on Ravelry by Betty Balcomb on how to do a Short-Tail Long-Tail Cast On. The directions have since disappeared from Rav so here's a quick recap of how to do it.
- From the same skein (or one each from two identical skeins), take the two ends of yarn and tie them in a slip knot with about a five inch tail on both.
- Insert your needle in the loop created by the slip knot.
- Proceed with a Long Tail Cast On (see below).
- When you get the desired number of stitches, break the yarn from the end you won't be knitting from.
- Smile because you had just the right amount of yarn.
By the way, here are some links to great sites to learn how to do the traditional Long Tail Cast On.
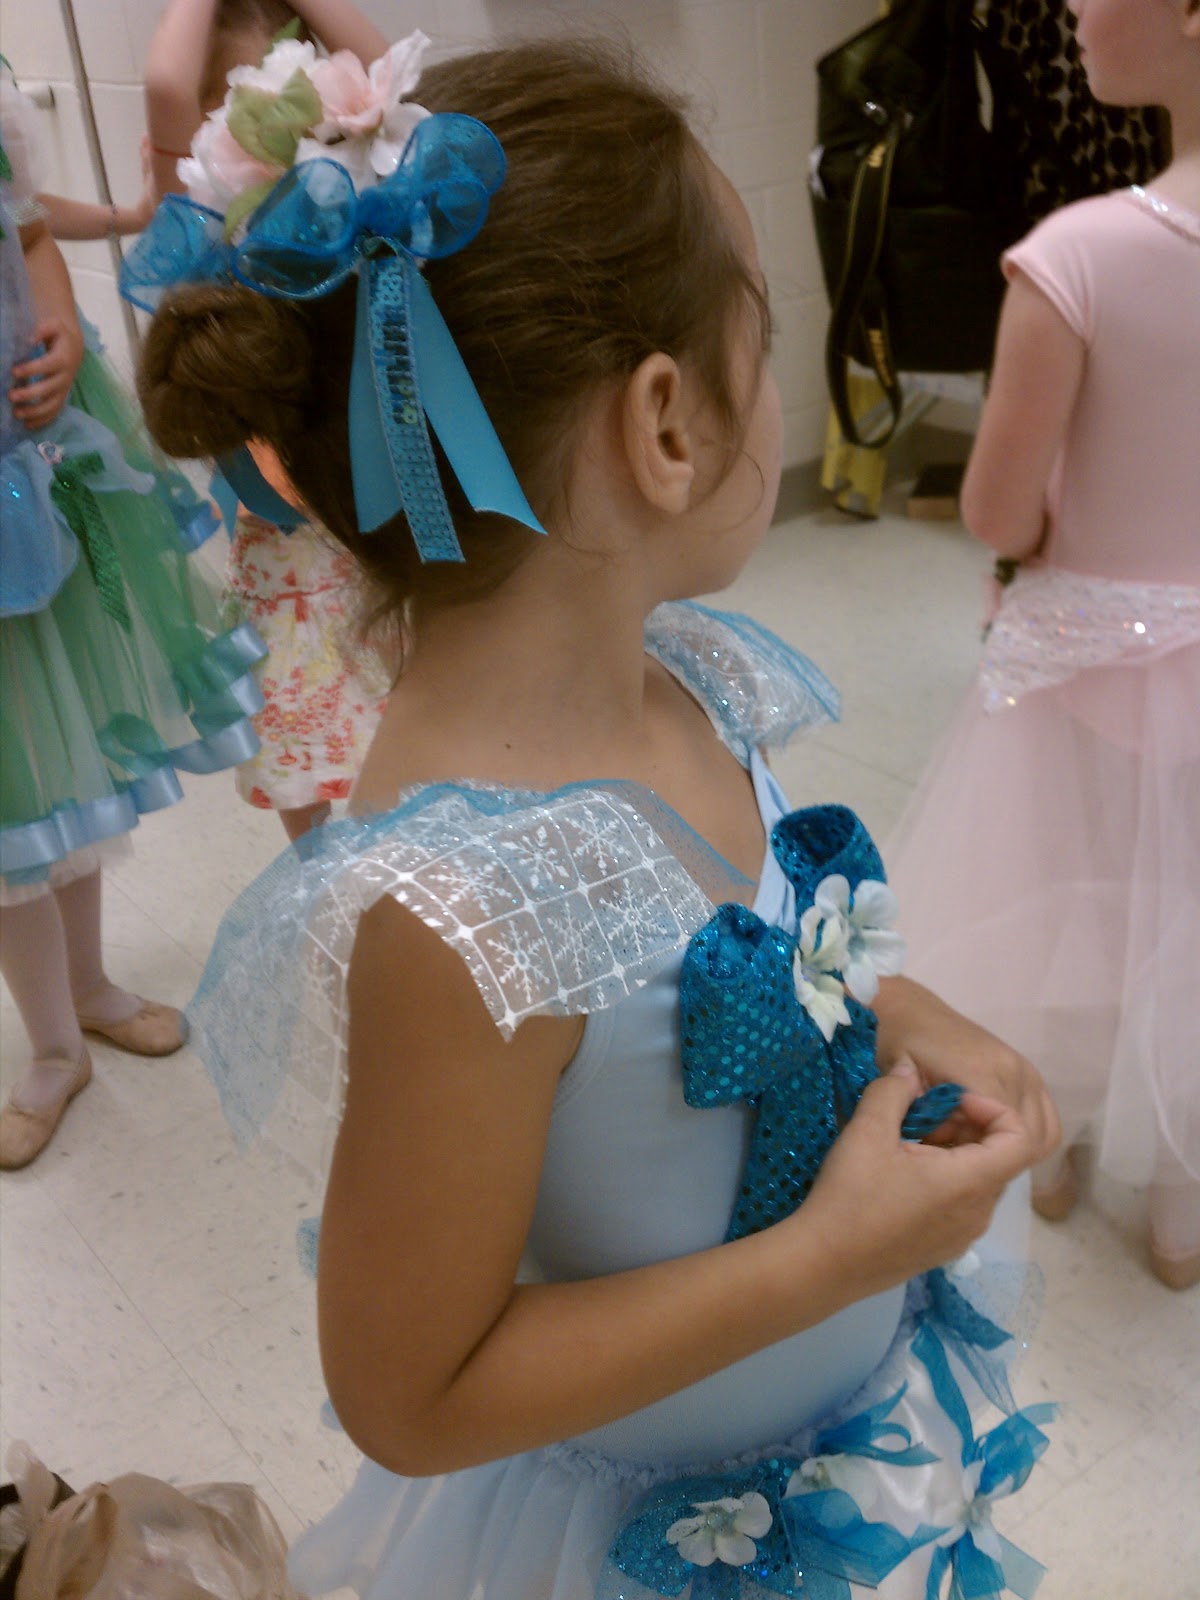
Little Bit giving me her typical pose
right before her ballet recital.
Monday, May 23, 2011
Magic Ring. Here's Something New to Me
I am by no means an expert knitter and I'm an even less accomplished crocheter. So when I stumble across something that either makes my hobby more enjoyable and/or makes my projects look that much better, I just have to share.
I was recently put in a position where I had to produce an infant baby hat by the next day. Of course, the first place I go is Ravelry to do an advanced search for what would be the best pattern for me. The very first pattern listed was called 30 Minute Baby Hat by Mary Ann Colatuno. Even the name was perfect. I immediately cast on and, with the exception of the flower part, was done within 30 minutes. Now, back to my original thought.
In her directions was a link to a crochetme.com forum post that quickly described this wonderful thing called Magic Ring. I would give you the link but she has since turned the directions into a pdf and I can't find the post anywhere. So, today when I wanted to hook a circular project I went looking for it to refresh my memory and since I couldn't click to forum post (typing it in the address bar didn't work either) I searched on YouTube and found it. I just clicked on the first one listed (you can see it here) and with one simple change, my finished work looks so much neater and was that much easier.
Here's a photo of the finished project.

Photo courtesy of my friend
Sylvia Schultz of
Monday, August 25, 2008
Creative and Beneficial Uses of Lavender Essential Oil
 Because I own a shop that sells fragrances, including essential oils, I get asked a lot of questions about them, specifically lavender. If you were to make a starter kit of aromatherapy and home remedy essential oils, this would definitely be in your top 6. The other five would be Tea Tree Oil, Rosemary, Eucalyptus, Peppermint and Grapefruit. But their stories are for another day. Please use caution when using essential oils around infants, children, pets and while pregnant.
While many people are aware that lavender has relaxing properties, it is very useful in a lot of other ways as well.
Lavender has antibacterial and anti-fungal properties.
- If you use cloth diapers, put a few drops in the final rinse to disinfect diapers.
- To make homemade baby wipe solution, add 2-3 drops of lavender to a pint of water and a dash of baby shampoo. Put in squirt bottle and apply to wipes or use it in a wipe warmer.
- It's often added to Chamomile to treat Excema.
- It's an effective treatment of lice.
- It heals burns, wounds, cuts and sunburns rapidly.
- Place lavender sachets wherever you want to prevent moth attacks. Especially in wool yarn storage bins. No need to buy expensive ones, just use knee-high stocking stuffed with dried lavender.
- Toss a lavender sachet in the dryer for a clean smell and to keep bugs away from blankets, etc. When the sachet starts to lose it's strength, freshen it up with a few drops of the essential oil. If you don't have dried lavender, use small facecloth and put about 10 drops per load of lavender oil and toss it in with the rest.
- Hang lavender holders outside to deter mosquitoes. Apparently, they hate lavender. You can even add some lavender oil to your favorite unscented body oil or lotion for a natural mosquito repellent.
- Spiders don't like lavender, either. Especially when it's mixed with eucalyptus. Take about 5 drops of each and apply it along sliding glass door tracks, window ledges and other places they enter the house to deter them. You can apply it directly to a cotton ball and wipe it along those openings or create a spray solution using 5 ounces of distilled water. Shake well and spray.
Thursday, July 10, 2008
Row and Stitch Markers
 I just am not creative person. I may have mentioned that I am extremely good at following directions, though. So, I just stumbled upon (well sort of, I read her blog regularly) Turtlegirl's generous posting of how to make stitch and row markers in a very easy to read Word document format. Now, all I need are pliers, beads and some wire to make this cute little row marker:
Here is a link to her site with the free download.
Photo courtesy of TurtleGirl at http://turtlegirl76.com/
Thursday, April 3, 2008
Never Underestimate the Importance of Gauge!
After spending hours working on a pair of shorties (a wool diaper cover) for Bit and using a nice yarn for the first time, I discovered the importance of gauge. Up until this point, I either did something that didn't require a fit or just plain lucked out. While Bit can wear these with a ribbon cinch, the end product was basically an unfitted square. Hubby calls them my "Pink Bit Square Pants". If Sponge Bob were a girl, he'd probably love them (see pic at bottom of page).
 Here are a couple helpful links on determining gauge and and a pic of my finished project (for a "what not to do" reference).
Yarn Forward has this to say about gauge.
Knitty.com has a long article about the importance of gauge, here
Suite101.com says this
Ehow.com says this
theknittersbag.com says gives a chart for calculating gauge, here
And of course there are scores of blogs and other websites full of advice but the bottom line, if size and shape is important, knit at least a 4x4 swatch and measure it to make sure you have the size. Everything from weight of the yarn, size of needle, fiber of the yarn and your individual knitting style can affect the end result. It's a small investment of time to take to make your project worth your time and effort!
An example of what not to do:

Thursday, March 27, 2008
Distraction Knitting Solution: Using Stitch Markers to Mark Rows
Once again, I'm indebted to the people of Ravelry, who's ideas inspire me and save me tons of money. Well maybe not the latter (more on that later).
I'm an ok knitter in my book. My stuff comes out looking sort of like it's supposed to and the few clothing items I've made even fit. But, when I get distracted, kids, TV, pets, visitors, et. al. I'm usually not good enough to figure out where I am in a pattern.
Case in point: I'm knitting a pair of baby shorts in the round. After frogging because of numerous interruptions, I'm finally to the body of the pants. At this point, it says make a short row then knit 5 rows. Do that a couple times until you get your desired length. Oh, Kudos to Pear at Yarny_Bits for the great free pattern. One of my problems is that I seldom have time to sit and knit 5 rows and lose my place (sometimes even while I'm knitting) and can't recall which row I'm on.
Enter Ravelry knitters! I'm reading on the Etsy forum about these great things to help me with this very problem. Use stitch markers linked together and each time you complete a round, slip to the next one on the loop to mark what row you're on! Genius!
Turtlegirl76 makes some really pretty ones, here, at her shop on Etsy. Not being creative, but great at following directions, I google "how to use row markers" just to see that I understand this concept before spending money. Lo and behold, Karen at KarenJoSeattle has not only an easy to understand tutorial of this process, but shows me how to make them myself out of some markers I have on hand! So, I learned something new and saved money.
Oh, yeah, about that. I think I'm still going to go buy Turtlegirl's markers because they are so darned pretty and I try to be a supporter of the people that support me and may not even know it.
Thank you's to Pear, TurtleGirl and Karen.
Friday, March 7, 2008
Center Pull Ball of Yarn
Here is another seemingly self explanatory yarn thing but I had to do some research to find an easy way to do it that 1) didn't end up in a tangled mess and 2) wasn't so complicated I'd have to bookmark the link and boot up my computer every time to relearn the process.
Here is what I came up with:
Start by holding your winding hand open with your thumb and forefinger extended. Take the yarn to be wound and drape it over the open hand from back to front between the thumb and finger leaving about a 6 inch tail behind your hand.
Loosely wind the yarn around the thumb and finger in a figure eight pattern about 30 times, the exact amount isn't important but you don't want to do it too much or when you're finished that part will pull out of the ball and leave a large hallow space.
Pull the figure eight winding off your thumb and finger and pinch it together leaving the tail still trailing down behind your hand.
Now, simply start winding and turning like this: Wind at an angel from the lower part of your thumb to the top of your thumb about 20 times (again, the exact number isn't important) turning the ball on your thumb about a quarter each time after wrapping. Be sure to keep the tail positioned behind your hand.
When you are done, tuck the end into the last few wraps. Pull from the inside string to start. The figure eight part will loosen up pretty quickly and may pull out in a little yarn blob. Now you see why you don't want to make that part too big. But, too small may not leave enough room inside the ball to pull the rest. You can play around with the amounts.
Sunday, March 2, 2008
Slip the Marker???
Sure, I've been knitting for a good few years and am pretty familiar with basic terminology. But I recently did my first project in the round, a pair of knit pants, and struggled through both legs with the stitch markers. The terminology was simple enough "slip the marker and stitch to the next marker". However, the only markers I have are the plastic lobster claw like gadgets which I later learned are for crochet. I thought I was supposed to clip one on to the last stitch and then remove it and attach it to next stitch above when I came back around. I was confusing myself trying to line up the lower stitches and needless to say, had to correct a lot of errors.
Then I found a post on the Ravelry forums that changed my life! Someone actually asked what "slip the marker" means! Can you believe it? I didn't even think of asking but she did and I thanked her for asking because the simple response made all of the difference in the pinwheel blanket I'm making that currently has 11 stitch markers. I'm flying through this project thanks to her.
For all of you that don't know what it means and didn't think to ask, slipping the marker is an easy way to mark a certain spot. First you "place" the circular stitch marker directly on the right needle when the pattern says so. When you come back around, knit/purl the stitch before the marker and then "slip" the marker from the left needle to the right and continue knitting/purling the row. So simple yet it's made a world of difference in my technique.
One of the infinite purls of wisdom I've learned from everyone on Ravelry.com (pun intended).
Wednesday, February 6, 2008
How to stiffen a project
I found there are mainly 4 ways to stiffen a project. All four can be applied by a soft clean paint brush. The homemade stiffeners can be washed out, so if you make a mistake, wash it and start over. For any shaped product, find a similarly shaped object, cover it so it won't get wet and insert it in the bowl, basket, box, etc. to obtain the desired shape.
The first is specifically meant for using on clothes as a spray starch but can be used for fabric projects. It's a simple process:
Heat 3/4 cup of water in the microwave until very hot (boiling if you're doing it on the stove). Mix 1/4 cup cool tap water with a tablespoon of corn starch and mix well. Slowly add the corn starch mixture to the hot water. Wait until it cools and pour it in to a spray bottle to use while ironing. Cautions on this method: Solution will only stay good for a couple of days. Don't use it on items you intend to store since it may attract mildew or bugs. To combat those problems, I may try to mix a few drops of Tea Tree Oil in the hot water prior to mixing. Tea Tree Oil is a natural germicide, fungicide, and bactericide.
Then there is the old fashioned sugar based starch a lot of grandmas used when ironing or making lace work. It's basically the same process but different ingredients: Mix equal parts sugar and water in a saucepan. Bring to a slow boil being careful not to burn the sugar. Immediately remove from heat and let cool to room temperature. Dampen your project and remove all excess water with an absorbent towel. Cautions on this method: Should not be used for permanent stiffening. Will likely yellow over time and may attract mildew and/or bugs. May get sticky in humid conditions.
Mixing equal parts white glue and water (use more water for more pliable projects) is another simple, quick way to stiffen projects.
The most permanent and durable method is to use one of the commercial fabric stiffeners on the market. Mix it according to the manufacturers directions. Caution with this method: It is permanent so follow the directions. Check your local craft store for brands.
Tuesday, January 22, 2008
How to block a knitted/crocheted project
Ok, so I haven't blocked yet, but when I do, I'm following the best blocking instructions I've ever found at Eunny Jang's Blog. Here's the direct link to her blog . It is very helpful!
Subscribe to:
Posts (Atom)